
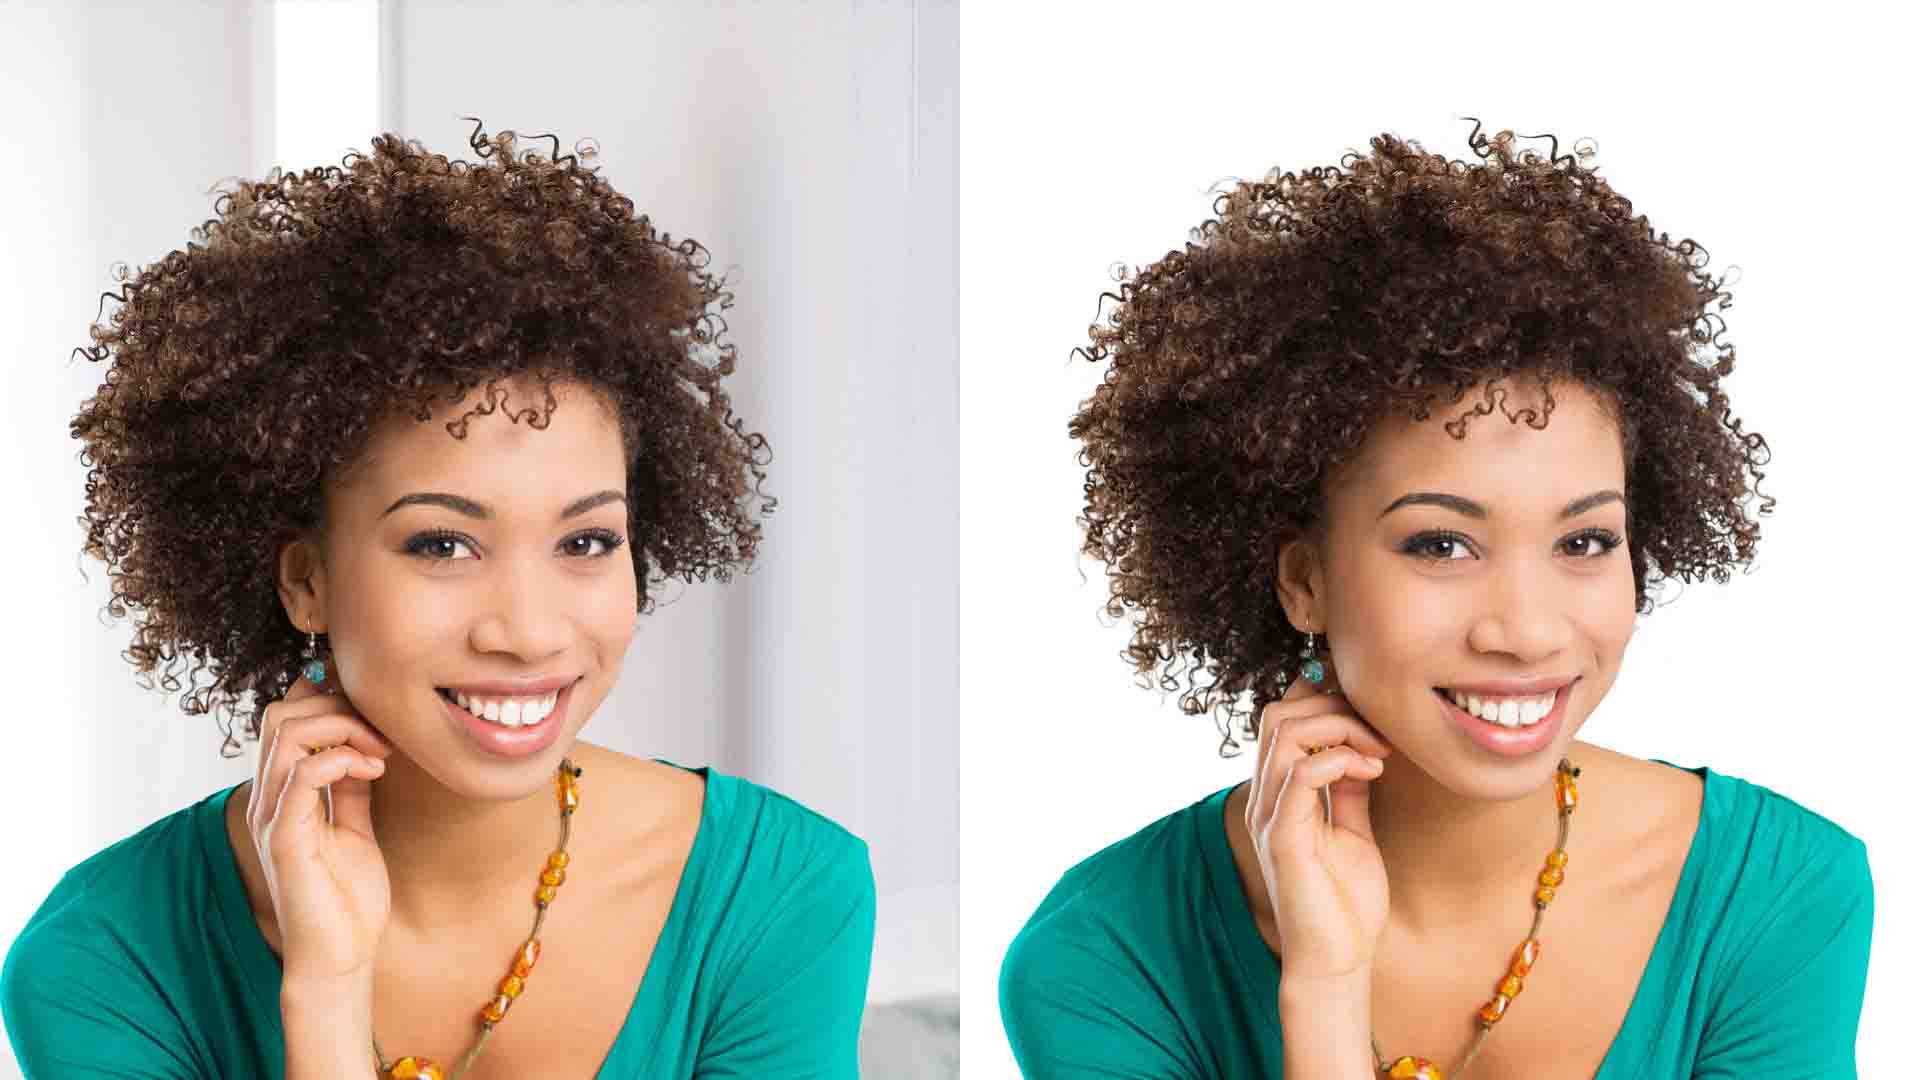
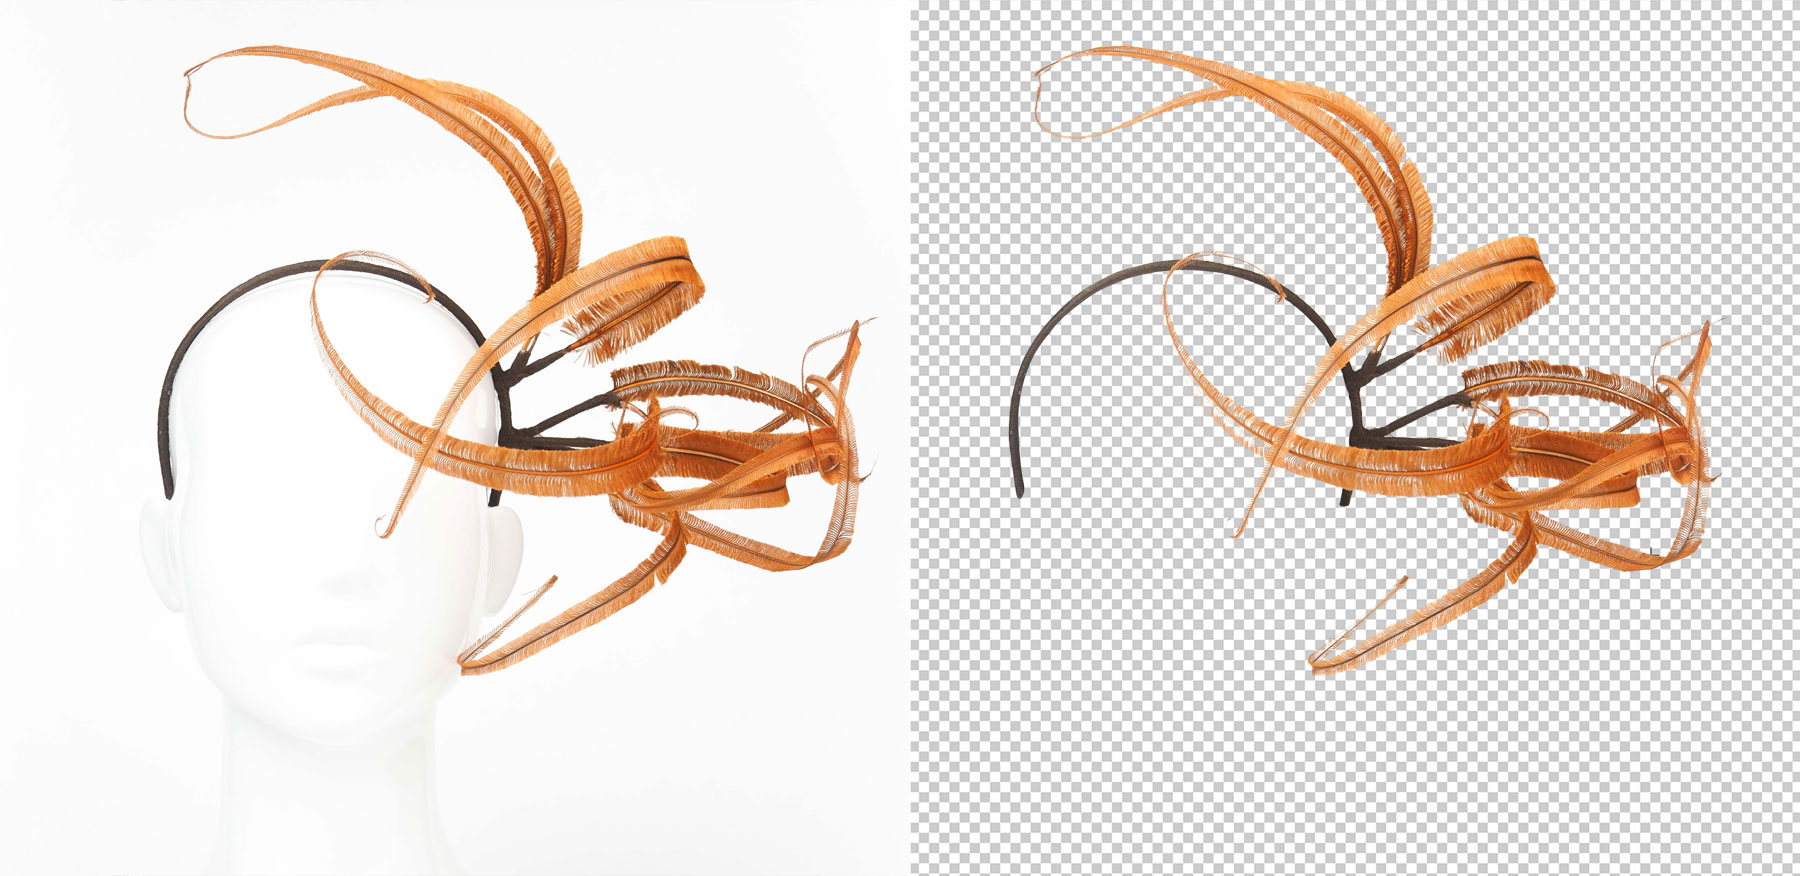
Photoshop masking is the widely used technique by ad agencies, photo design studios, and graphic designers. This means placing a mask on the top of a layer. Photoshop masking can be a Text masking as well as Layer Masking.
Layer masking is used to add a layer to an image to hide some part of the image or replace it with another layer over it and hiding the real picture which can be retrieved in future.
Steps of Photoshop Masking:
Select two pictures: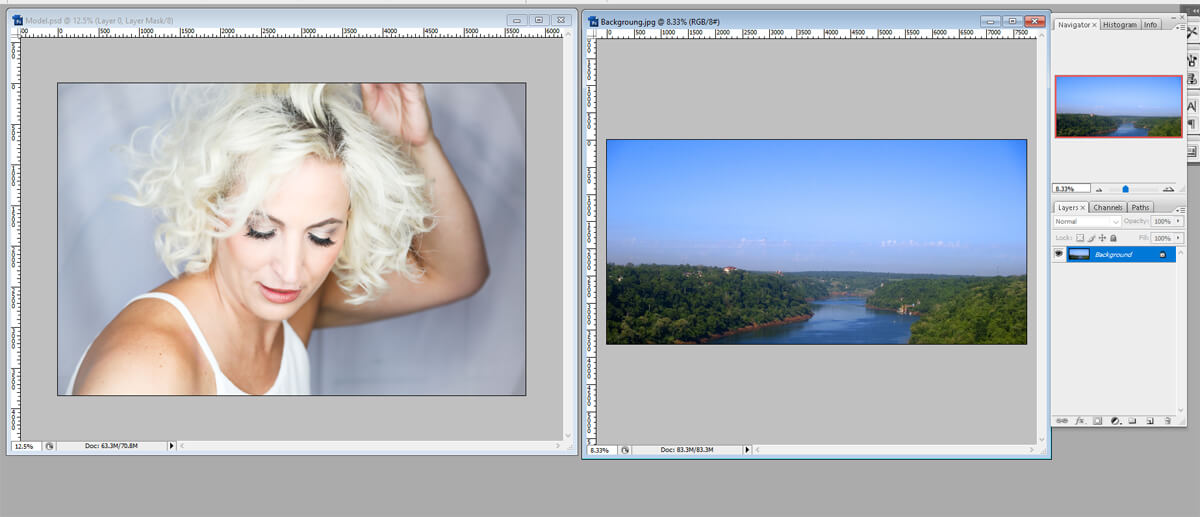
The very first step in the Photoshop masking (layer) is to select two pictures that need to be blend together. One the original picture and another from where the layer will be replace on the original picture. Open these two images simultaneously in the Photoshop window.
Drag the images: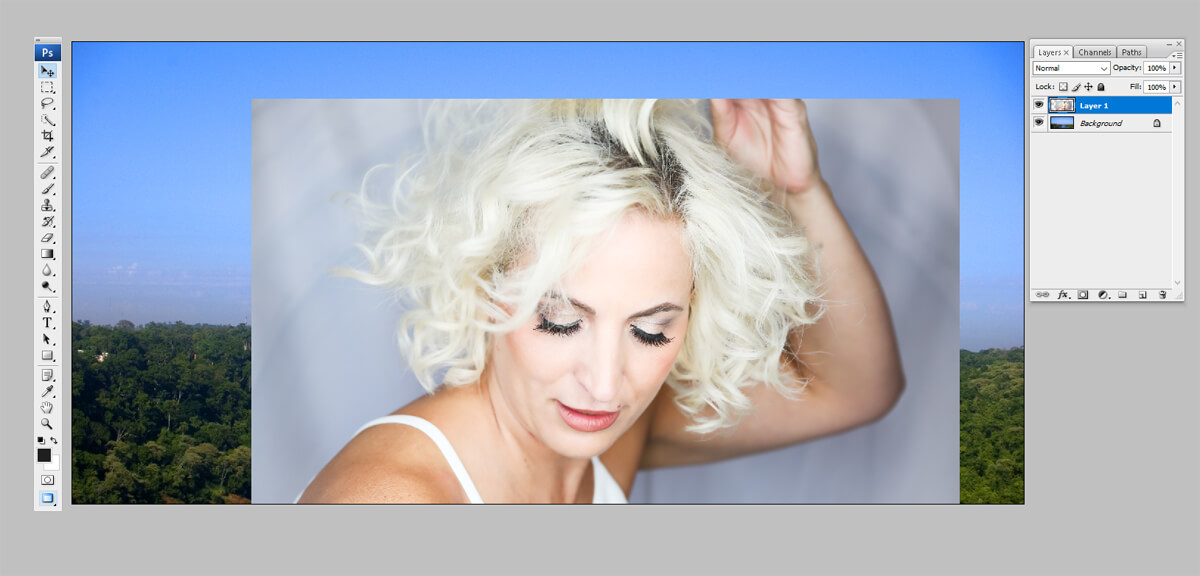
Drag the first image over the other image creating the layers. The images or the two document windows needs to be adjusted in such a way that one image is in the background layer and another is in the first layer as “Layer 1”. Alternatively, Press “V” on your keyboard to select the Move Tool and click anywhere inside one of the photos and drag it into the other photo.
The two layers will appear in the layer palette box on the right hand side of the Photoshop window.
Select the Layer Mask Button: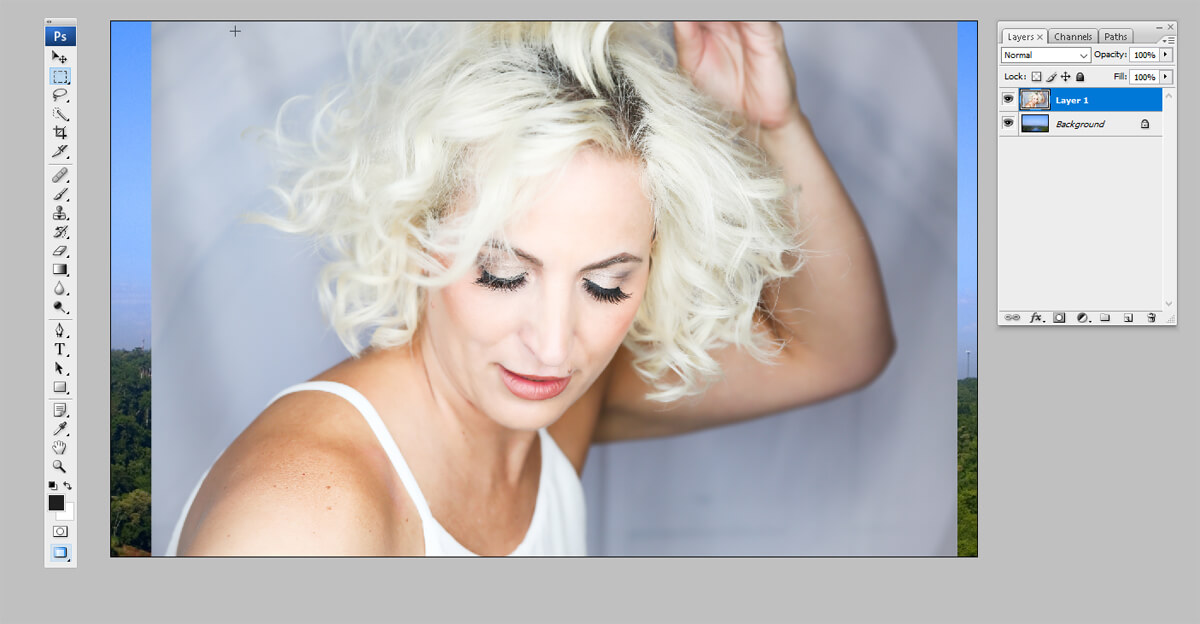
After dragging one image onto the other (keeping in mind the desired image), select the layer mask button at the bottom of the layer palette box. When the layer mask button is selected, a small white window would appear beside “layer 1”. Select the new layer if anything needs to be edited on it and select the original layer if it needs to be edited.
Select Paintbrush: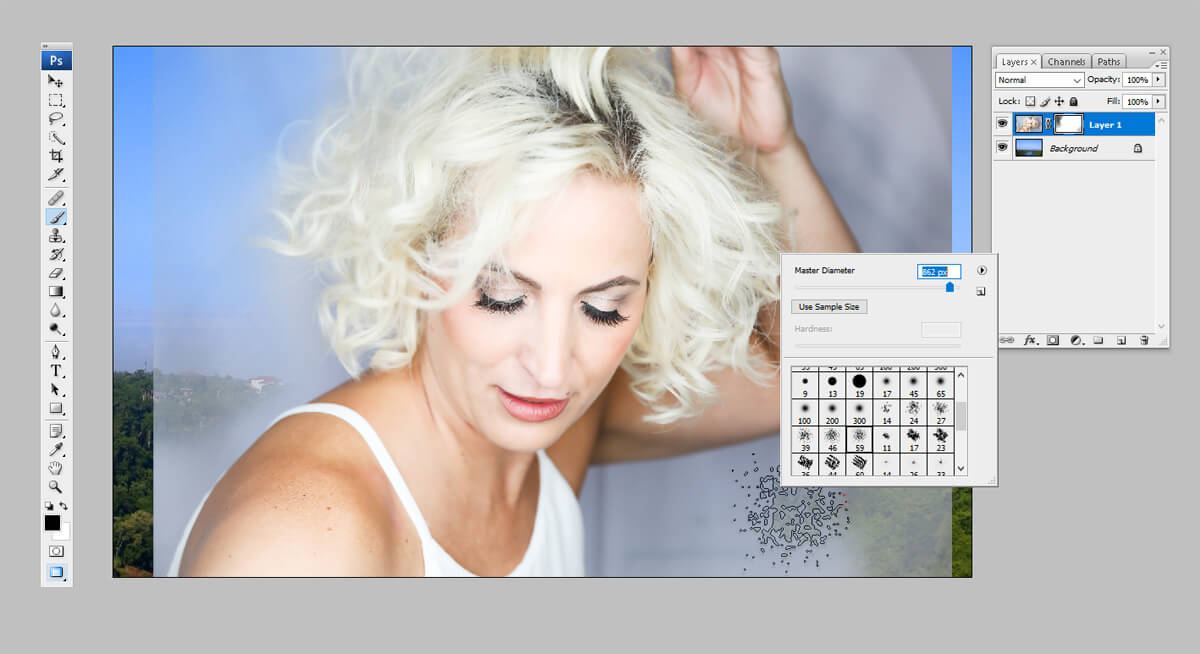
Select the paintbrush icon from the tool palette box and also select the percentage of the paintbrush from the option toll bar (appears after selecting the brush from the toll palette box). Select black color and start paining on the image to remove the upper layer on the image and reveal the previous layer.
To retrieve the old layer: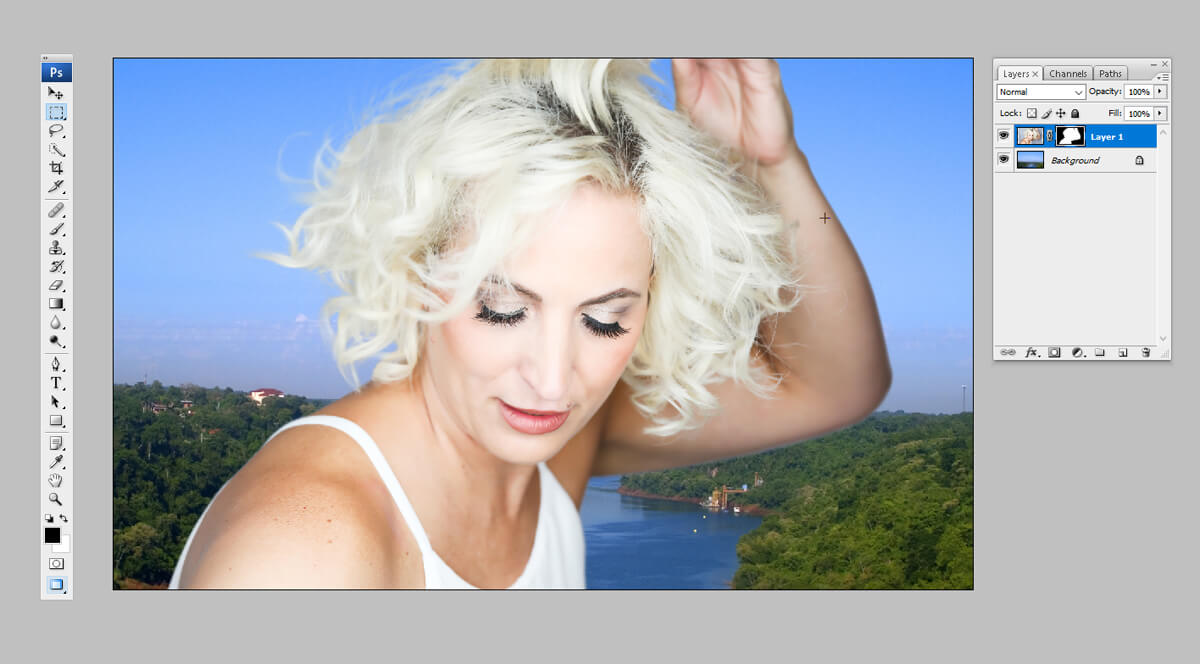
To retrieve the old layer again, click on the layer from the layer palette box and select “disable layer” option. To enable the layer again, select the layer from the layer palette box and select “enable layer” option.
Save the image: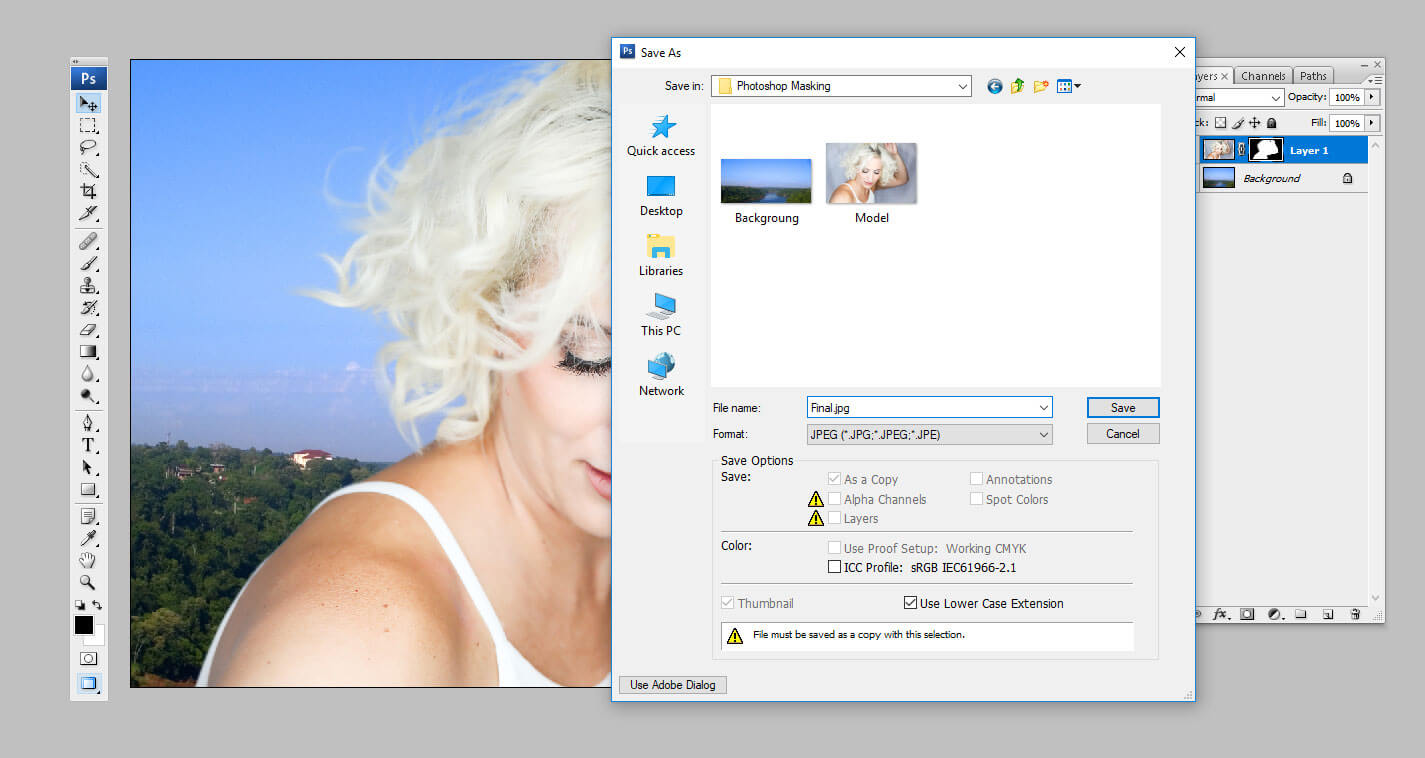
The above file can be saved from the file menu in the required format.

Hi, this weekend is nice in support of me, since this
point in time i am reading this fantastic informative piece of writing here at my house.
My partner and I absolutely love your blog and find almost all of your post’s to be just what I’m looking for. Would you offer guest writers to write content for yourself? I wouldn’t mind writing a post or elaborating on a number of the subjects you write with regards to here. Again, awesome site!
fantastic photo masking services resources, i really benefited from here, thanks
Nice Blog and thanks for sharing such a useful information to us. I really love this blog.
Interesting technique Helen. It has never been seen before. I’m a big believer in filters when I’m in a rush!