
One of the most confusing elements in the Photoshop palette is the use of layers. If one is using Photoshop Elements it does not find a mention. But this tutorial teaches the user to recognize and add layer mask.
How can a layer mask be added?
There are two kinds of users. One is the professional and the other is the individual who is trying to use the software that comes with the digital camera. Of course the professional version has much more finesse to deal with. The individual one is less costly and can be used to brush the photoshop skills. In fact this is the best way for the beginner. Photoshop elements have adjustment layers and that is good enough to begin with. This means a layer mask is in-built. Take this tutorial that blends two photos.
Step 1
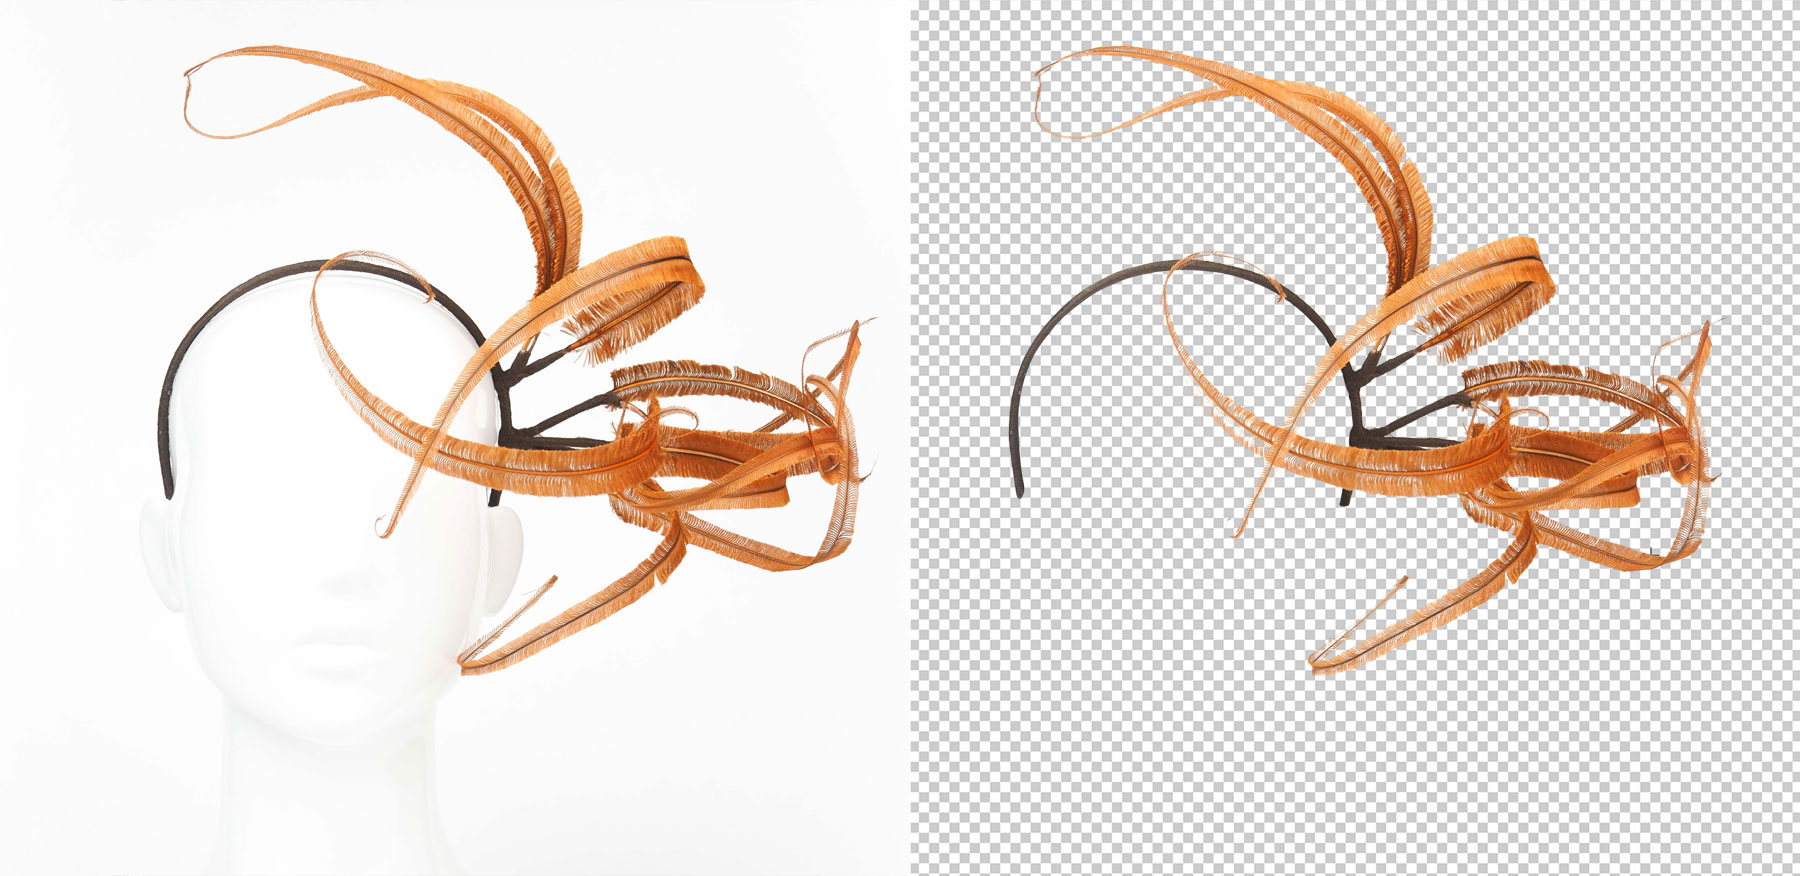
Select the 2 photos that need to be blended and open them. Both can be opened in two separate windows.
Step 2
Both the images need to be put into one document if they are to be blended. Decide the purpose of blending. Once you have established the purpose, the focus can then be on getting the layers done. Use the Move tool to bring the two pictures together on one page. Try to press V on the keyword. Even this shortcut works. Then click on any portion of the image and drag it on the other image. Beginners might find it difficult. Try to hold the mouse, use the shift key to release the mouse. If done correctly, one image will appear on top of the other. Look in the layer palette. Both images should be visible in the same document. One image will be on the bottom background layer. Layer 1 will have the other image.
Step 3
Now an adjustment layer will be added. There are many adjustment layers in Photoshop elements. Only one is required to path the existing two images layer. Tackle the background layer first. Select it from the palette menu. If it is selected it will show blue color. Then click on the new adjustment layer from the menu. Select level adjustment which appears. When it opens click OK. This will help to exit the level. Between the two original layers of images, a level adjustment will appear. With this look at the layer mask thumbnail. This is blank and this is where the blended pictures shall appear.
Step 4
The adjustment layer now needs to be put on layer 1 to blend it with photo in background layer. Group the two layers together. Click on layer 1 in the menu. Then go to the layer menu and opt for group with previous. Confused, simply use CTRL+G. Look in the layer palette. Layer 1 is curved to the right. The layer mask can now be used to blend the two photos.
Step 5
The layer mask needs to be selected. So click on the thumbnail in layers palette. Clue: it has a white border. Choose the gradient tool or press G on the keyword. Right click on the document window. This will show the gradient types. Choose B & W gradient.
Step 6
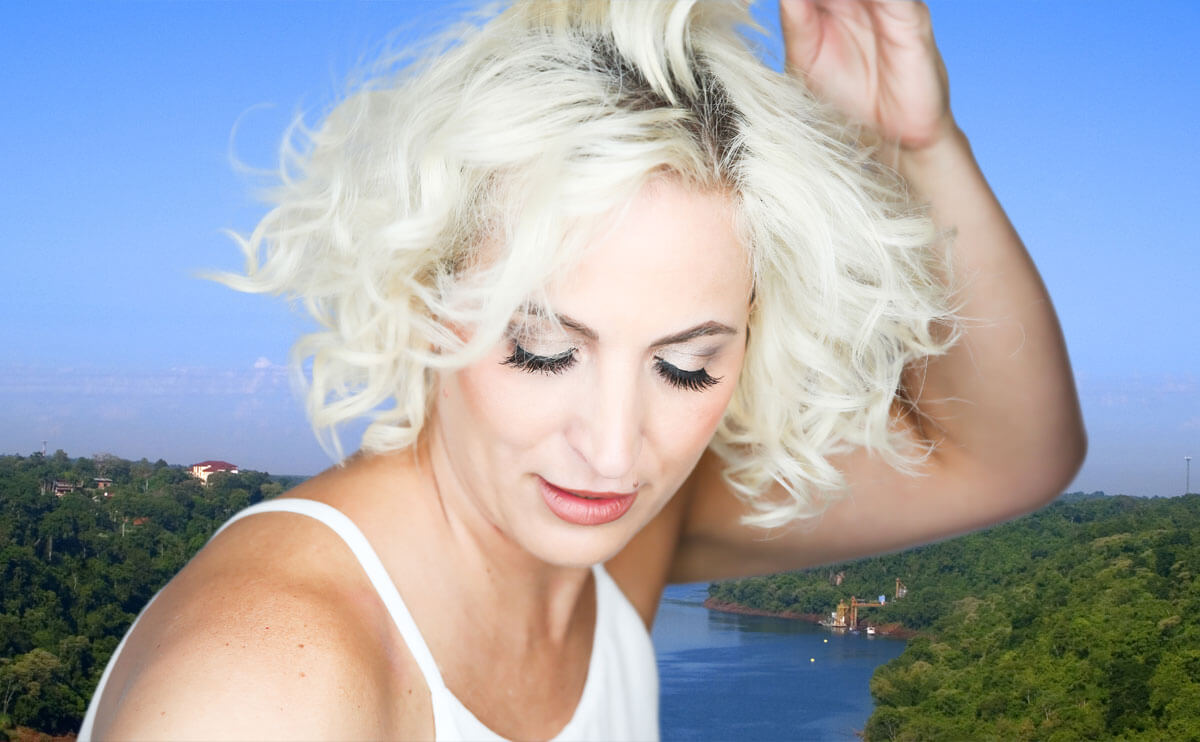
Once step 5 has been executed, click inside the image. Drag the gradient where it is needed, in which transit areas? It is being dragged on the layer mask. Longer the gradient, transition area will be larger between the two images. When the mouse is released, the Photoshop elements will put the gradient on the layer mask. Look at the layer mask thumbnail and see how the B & W, was used. Layer 1 appears on the white area. On the black area the background layer appears.
The two photos are now blended.

Thanks for sharing this useful steps.Keep it up.
I think you have observed some very interesting points, thanks for the post.
Thank you for the compliment. You can check out the other posts on my website.