
In this simple Photoshop tutorial about Photo Enhancement, one can learn how to enhance photos with the use of simple Photoshop tools like the color correction, the lasso, the color palette.

With the help of the airbrush, an image is improved using simple photo enhancement techniques. Beautifying a face has always been the key for any business or individual in order to achieve maximum comments and attract customers. This tutorial on Photo Enhancement is all about an interior design of a Drawing room and it’s enhancement process using Photoshop CC 2017.
Step 1
Open the desired image that needs enhancing in Photoshop. It is advised that when enhancing an image, a very plain and an individual with less or no make up is used, this just makes the project more attractive and fun. Let’s have a look at the below file:

Step 2
A pale and washed-out interior image can be given some effects by adding some saturation and coloring. This can be done by selecting hue/saturation under the ‘adjustment tool’ of the ‘images’ option. Saturation can be taken up any percentage depending on what looks good for a particular image. Check how it works:

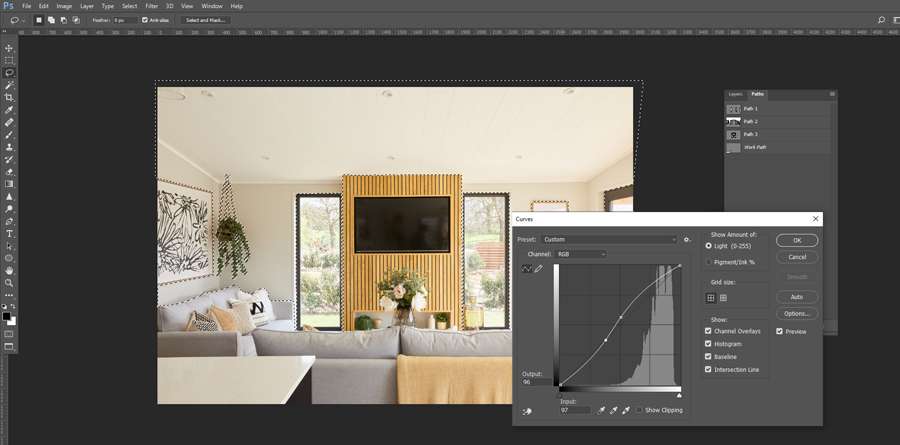
Step 3
Areas like the plant and glasses can be highlighted giving the image and the individual a glowing look. This can be done by using the pen tool, tracing around the shape of the portions, and then loading the path as selection. Once the path is loaded, pressing the key ‘j’ on the keyboard cuts the selection into a new layer. Color can be added and saturation can be adjusted in the same as in step 2. Using the color balance tools under images one can shade the lips using values relating to the color. The below attachment will show how it functions:
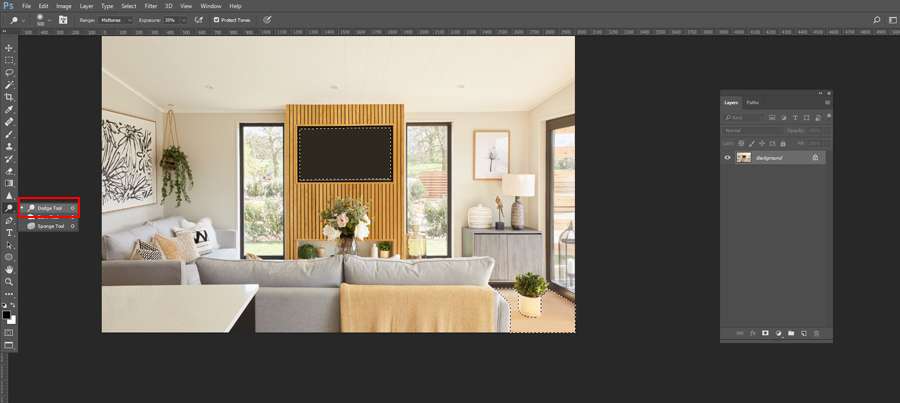
Step 4
The sophisticated areas can be given some depth by using the lasso tool, going around the desired portions and press ‘j’ on the keyboard to add a new layer. Using the Burn & Dodge with small brush sizes and appropriate exposures a highlight under and over the areas can be created to add definition. Opacity tool can be used if any portion of the photo is too dark.
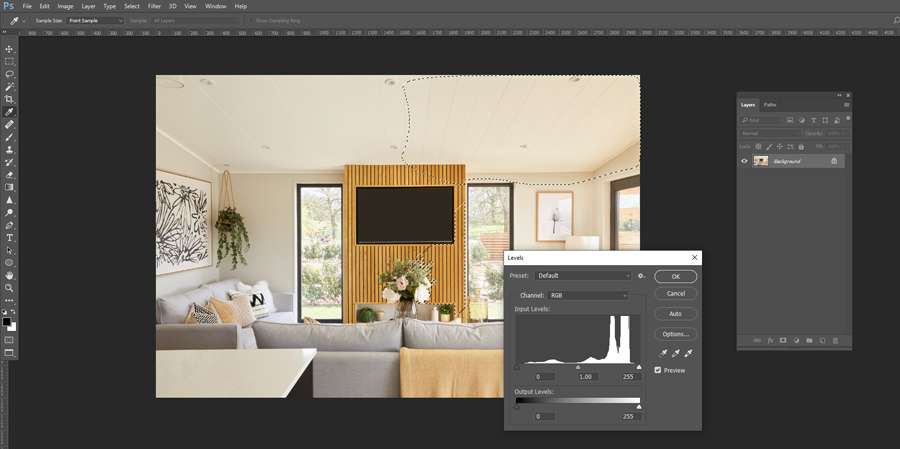
Step 5
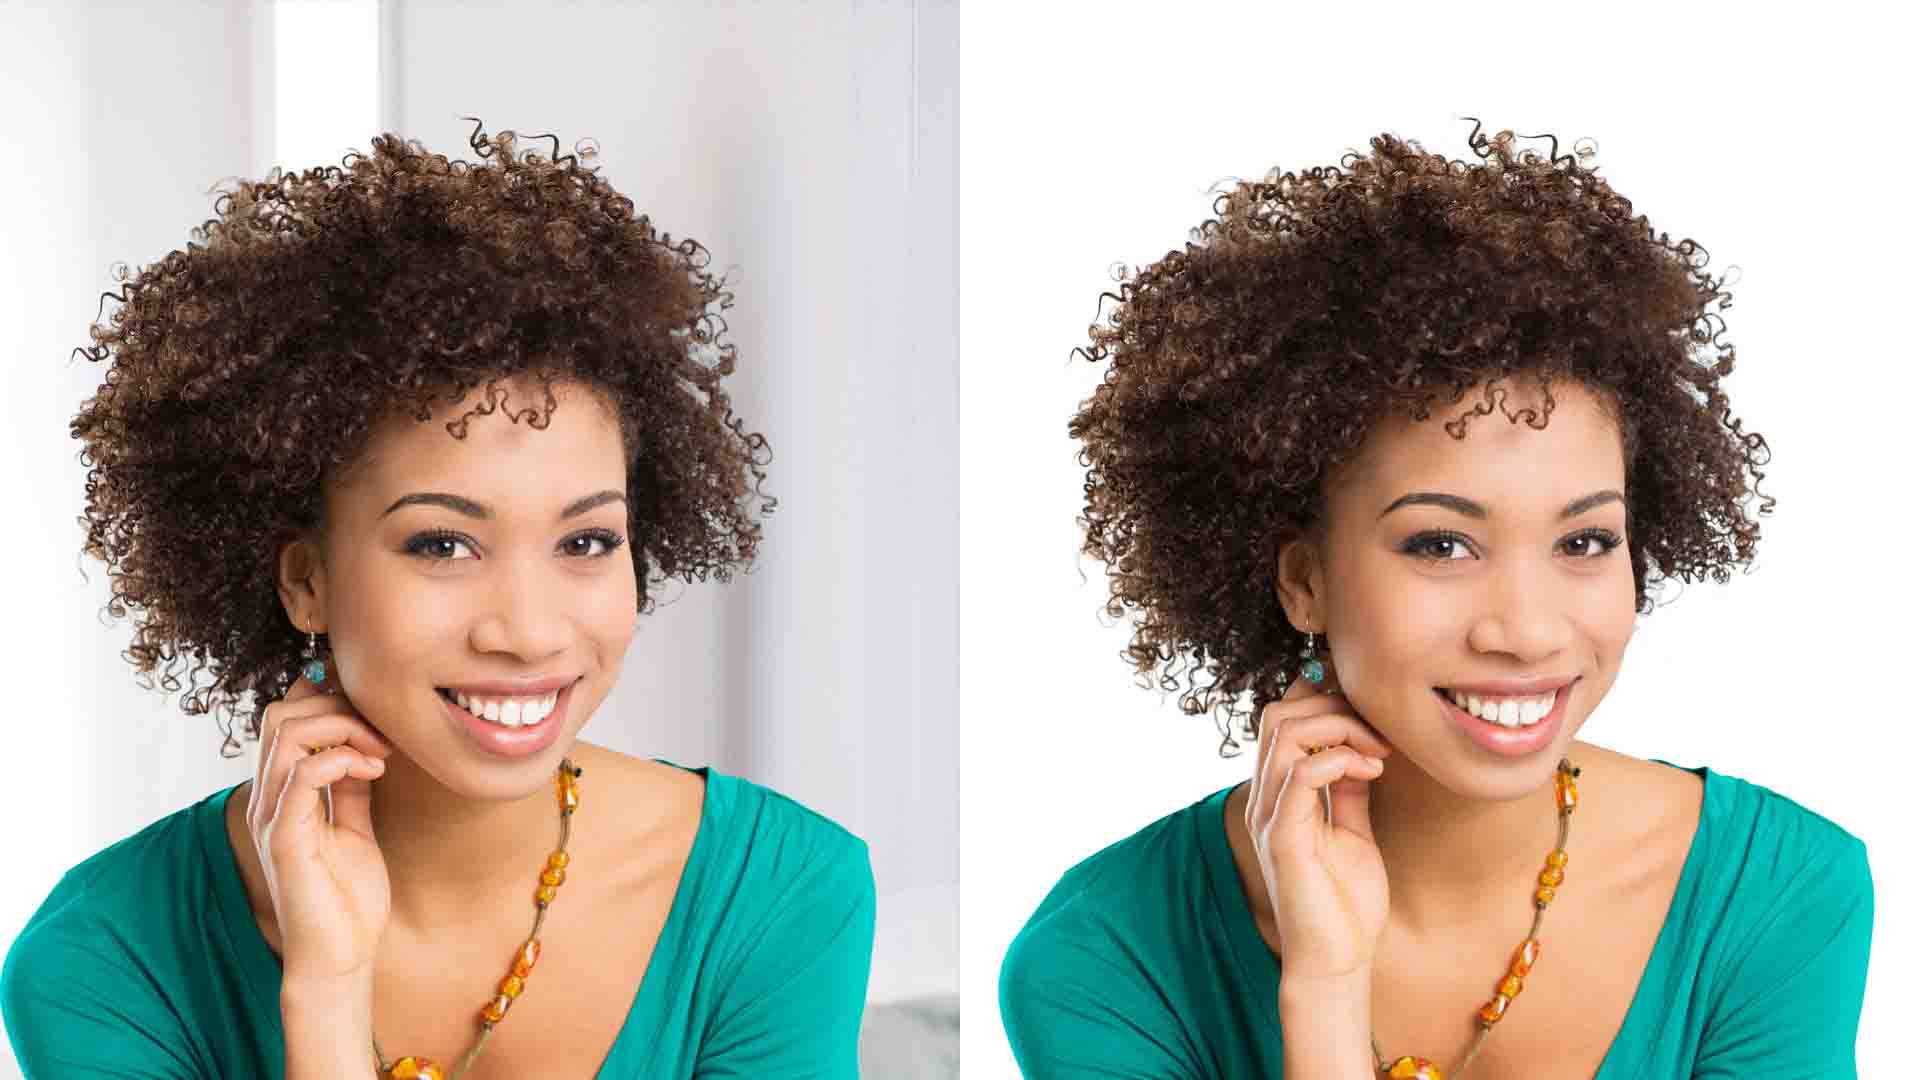
This step is for selecting any specific areas out of many for doing some extra tweaking like Color Correction. Photoshop Lasso Tool has been used for the selected portion to stand out the photo. Lets have a look for better understanding.
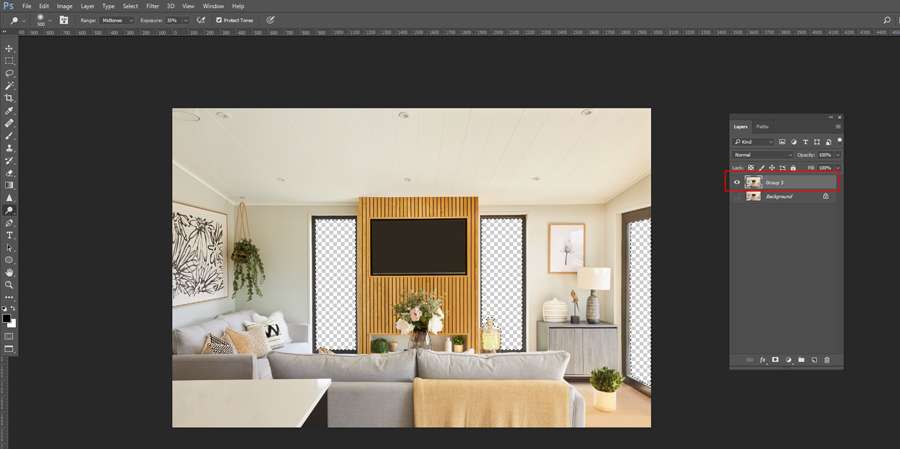
Step 6
The most interesting part of this tutorial is to make the portion transparent like window/glass through which the outer background is visible. Sometimes customer wants to change the background for a better look. This step will show how to make that area transparent. An easy tip for sure.
Step 7
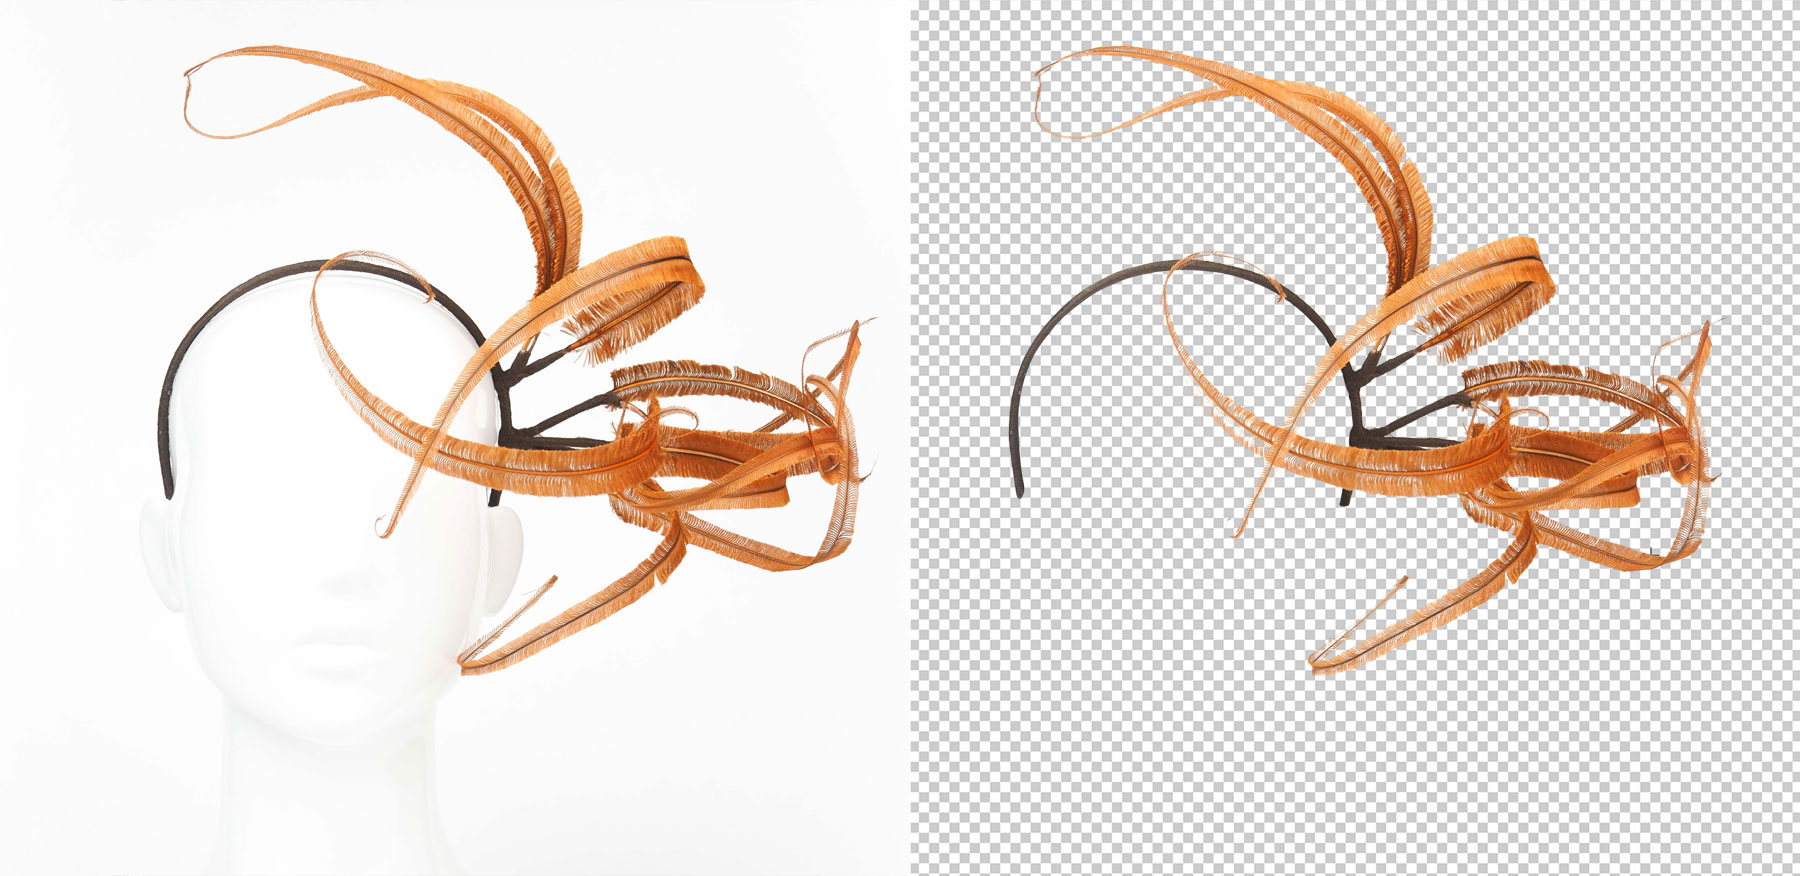
This step will show how to add a new background, absolutely for a lively and exclusive one on for a dull one. Let’s have a look to the below attachment to check how the new background has been imposed here. Not a rocket science though, just need a little judgment about its placement of.
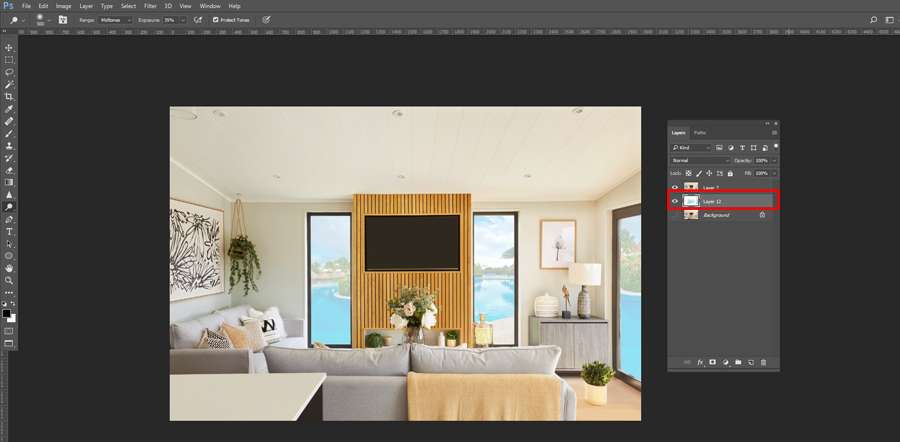
Photo Enhancement is like a digital magic wand for your Photos. They breathe new life into your photos by amplifying colors, sharpening details, and correcting flaws, all while preserving the original essence of the shot. Imagine turning a dull snapshot into a vibrant work of art or rescuing a cherished memory from the shadows of low lighting. Perfect for personal keepsakes, professional portfolios, or standout social media posts, these services ensure your images not only capture attention but also leave a lasting impression.

Great beat ! I would like to apprentice while you amend your website, how can i subscribe for a blog website? The account helped me a acceptable deal. I had been tiny bit acquainted of this your broadcast provided bright clear idea